Lemon Infused Polenta Almond Cake (suitable for camping)

top_20-9-2014_polenta_almond_cake_978

So long now, the time runs by. I had a very nice trip to the UK and came back with many more ideas where to travel next. The local cuisine in Cornwall was actually very good. There where many café´s with gluten-free options and I also found some raw fudge (from rawchocpie) that was totally delicious. The Cornish people do eat beans for breakfast and I must say that it´s not too bad. I was very fond of it there. I made a vegan and gluten-free version of baked beans, this time with avocado and humus. But you will have to wait for that recipe some more time.

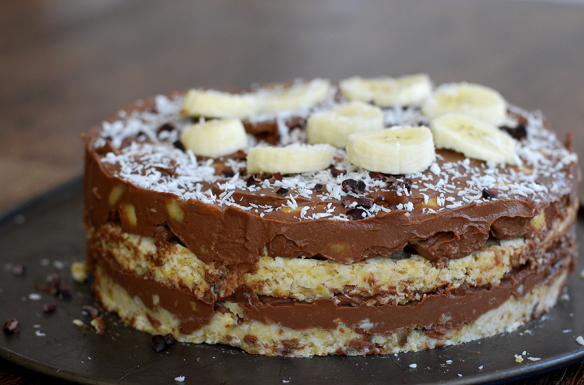
The cake recipe I am posting here is inspired by the almond polenta cake that is sold in so many café´s in north Cornwall. You find it in St. Ives, in Newquay and even in almost lonesome places at the coastline. I actually never ate it there, but I was constantly curious how it would taste like :) So I made one up. The occasion was an invitation from friends I got to know at a bonfire. They said I could bring something for dessert. So there was my motivation to do this cake I wanted to try so long, but did not until that time.

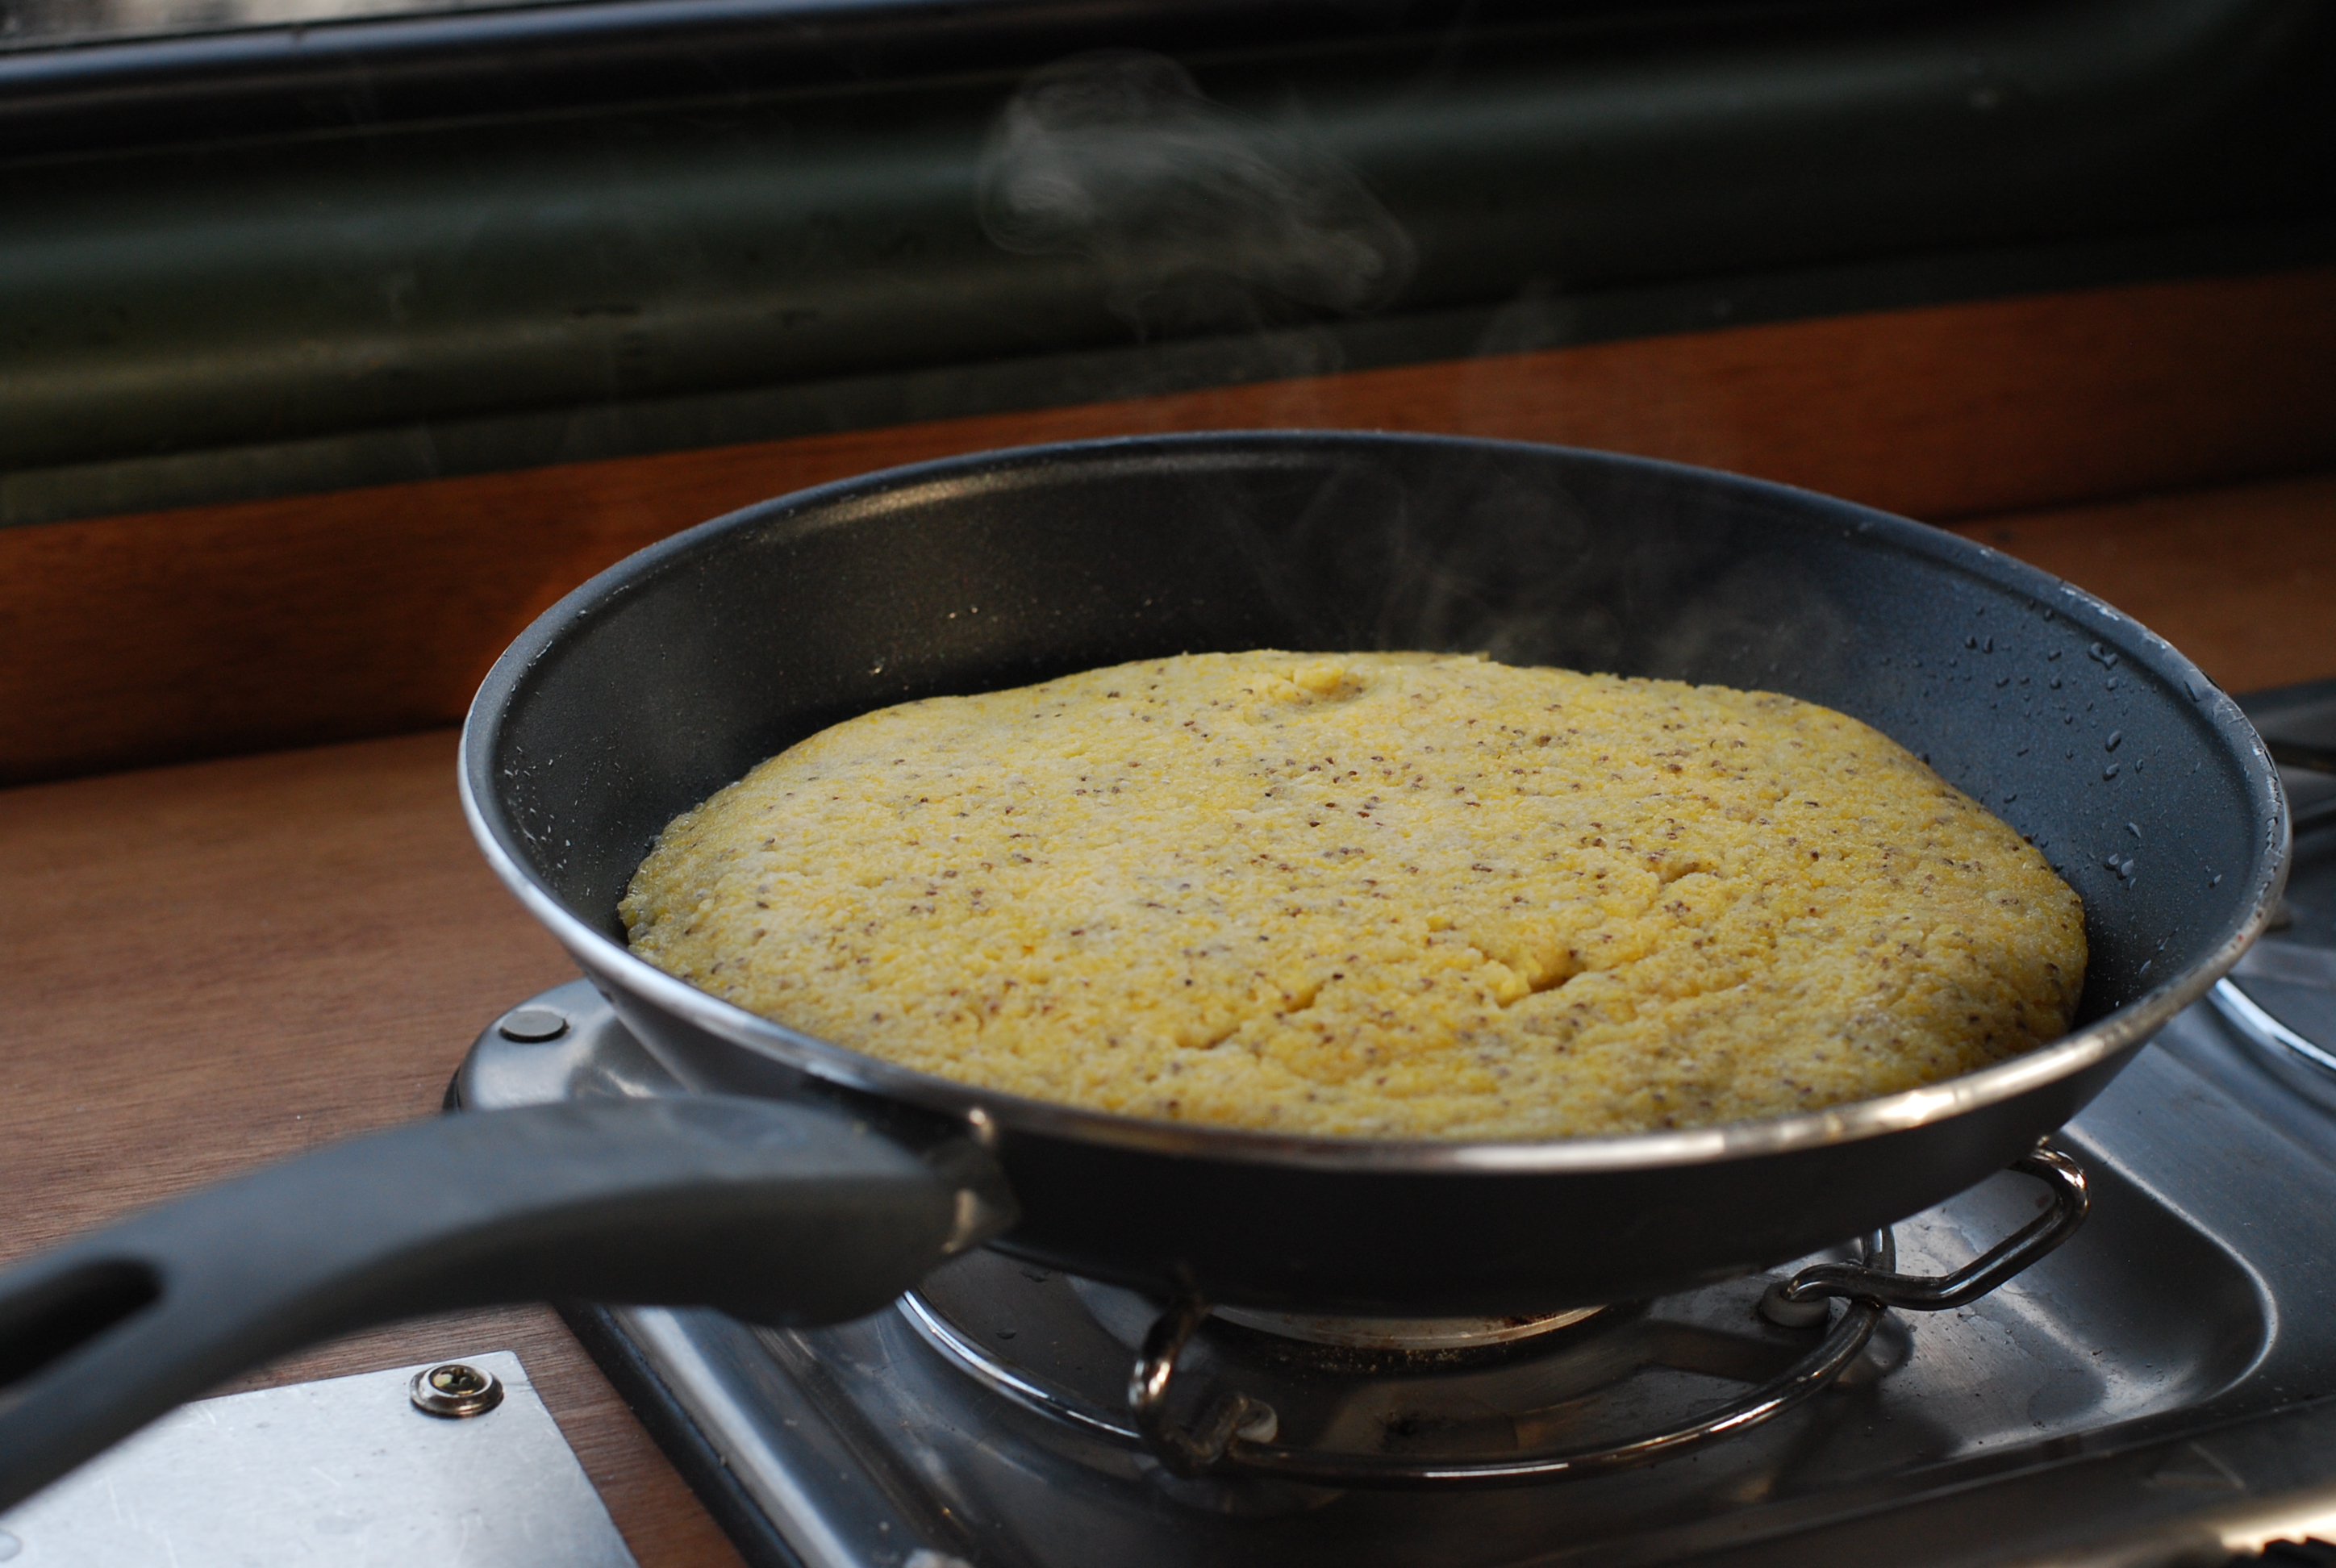
The fantastic fact about this cake is, that you don´t need an oven, nor a food processor. You just need one flame. I made the cake in my camping van so I am pretty sure you can do it on your stove at home, or in your boat, or in your van, or in front of your tent, or I have no Idea, but you can tell me :) Whereas I have to admit, that not everyone may be as crazy as I am traveling with such ingredients. But it´s always a good Idea to be ready to make things like this. Additionally I would claim that this cake is good for you (because of the lemon, the coconut, the chia seeds, the polenta…just so many good things).

top_16-9-2014_polenta_almond_cake_821


Polenta Almond Cake 

1 cup polenta
1 1/2 cup water
1 1/2 cup grounded almonds
1/2 cup plant milk (I used coconut milk)
1/2 lemon & also some of the peel
2 tablespoon chia seeds
2 tablespoon coconut oil and some more for baking
3 tablespoon agave sirup
pinch of salt

To prepare the cake you first heat up the water with the salt in a pot and add the polenta when it is boiling. Stir well and add the milk and the lemon. Stir some more and add all the other ingredients. Stir and stir.
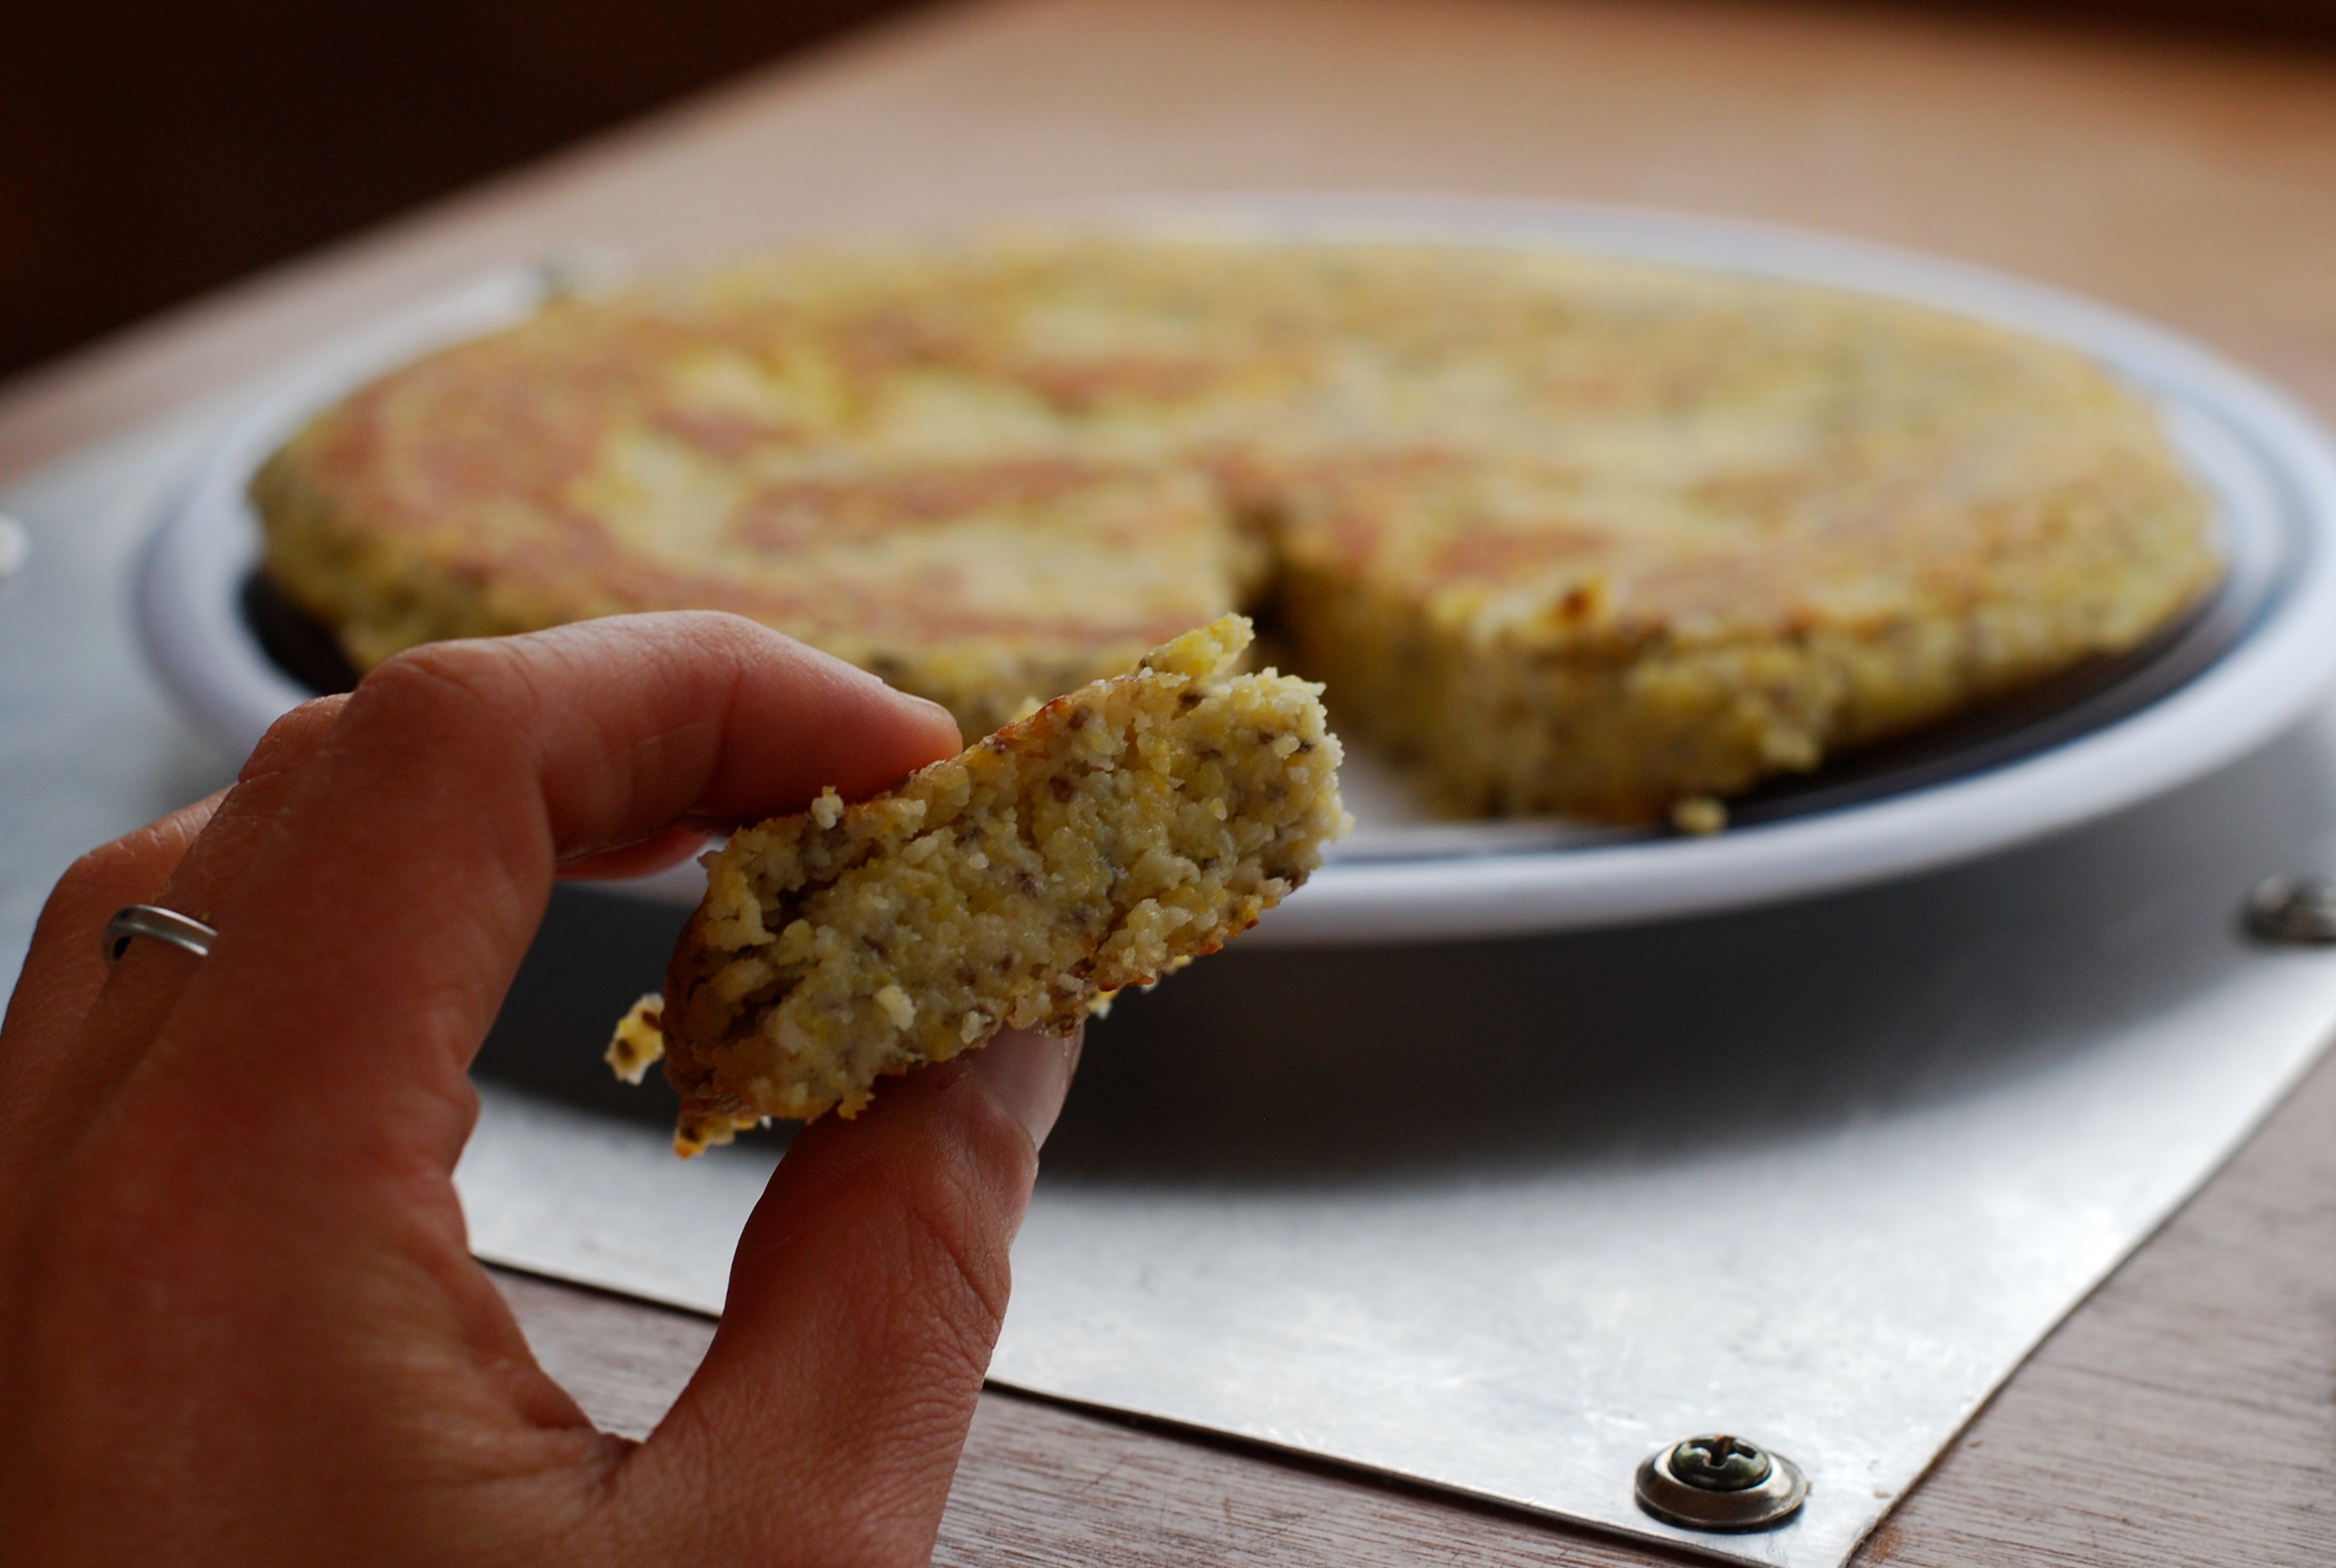
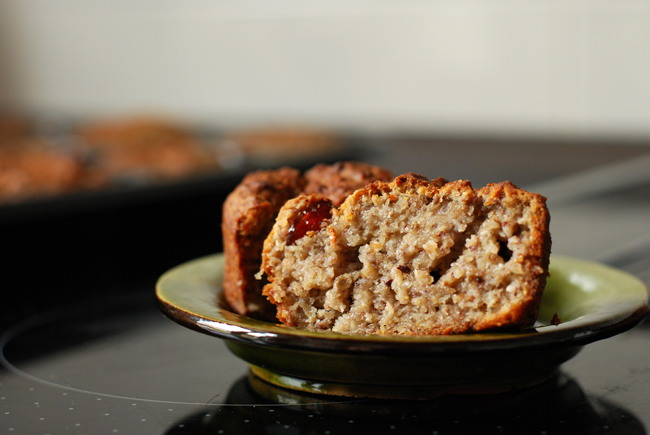
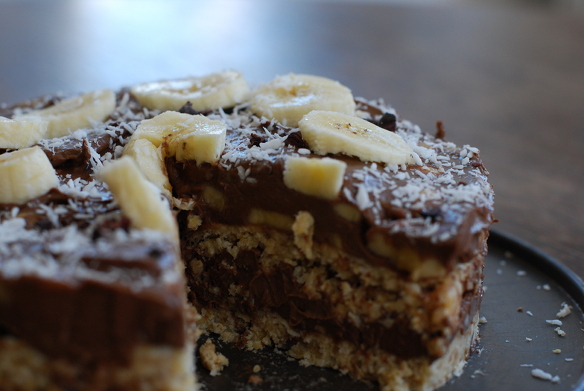
Then heat a pan with some coconut oil and fill in the “dough” from your pot. Bake on medium to low heat until it is brown and a little crusty on each side (it took about 10 minutes each side for me). For turning the cake to the other side you can simply slip it on a plate, the place your pan upside down on the plate and make a 180 degree turn. I don´t really know if that description helped anyhow, but I used the technique I once learned for making spanish tortilla.

 Now the fantastic cake is ready. You can eat it right away, but I suggest to wait until it has cooled down because it will be much more solid then.


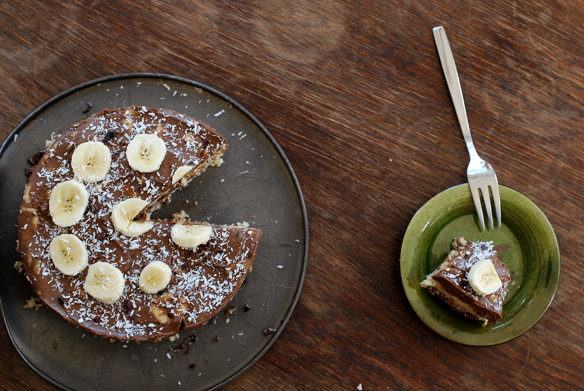
So I hope you enjoy this or another cake or whatever you like to eat together with some friends and have a good time!

Cheers!

top_16-9-2014_polenta_almond_cake_811

top_20-9-2014_polenta_almond_cake_982


Home Made Chocolate and Traveling News

top_4-8-2014_chocolate_338

It´s been a long time, that I did not post anything. I am very sorry. Life just got me spinned up in the famous web of “to-do-lists”. I was very busy, so there was limited time for creativity. But now I am back. The reason I was so busy is good news. I am going to travel from now on (tomorrow) without return date. It´s very exciting for me and it is even harder to believe, that I really made it through all the to-do-lists without going crazy… Because there is a lot that needs to be done when traveling for unlimited time. But now, ready to go!

I will try to discover some delicious recipes on the go. Anyway, you can follow my traveling on melea-und-eddi.tumblr.com. Eddi is the name of a car…in case you were wondering :)

But now, before I leave, here is a very simple, at the same time very tasty recipe how to make your own chocolate. I can totally recommend trying this, because it is easy and you can store the chocolate in the fridge, for a very long time. I have no idea, how long really, but I guess delicious as it is, it wont last so long. And you can surprise your guests with this!

So here we go. You will need a hot water bath.

top_4-8-2014_chocolate_357


Home Made Chocolate

1 part coconut oil
2,5 parts cacao powder
0,5 parts agave sirup

To spice it up

hazelnuts
walnuts
any nuts you like
cacao nibs
chili
vanilla
salt

Prepare a form with a sheet of baking paper. Fill in your favorite nuts or seeds or just plain air.

Above, there is just the equation. You choose how much chocolate you want to make. I think I took 1/2 cup of coconut oil and then adjusted the other ingredients.
You melt the coconut oil and then you add the agave sirup and the cacao powder. Stir until everything is well combined and be careful, that the whole thing does not get too hot. Otherwise it changes consistency from liquid to cloddy and you might be very sad (it happened once to me…). If you want to add chili, vanilla or salt, now is the perfect time. Pour the liquid chocolate mass (I am sure you tried it already :)) into the prepared form. Put into fridge or alternative into your freezer if you are too impatient to wait (I put it into the freezer). Wait until it is set. Cut into funny pieces.

E voilà, here it is. Your first homemade chocolate. You did it. It was easy, wasn´t it? And you know exactly what the ingredients are!


top_4-8-2014_chocolate_351

top_4-8-2014_chocolate_348

Baked Banana Cake

top_7-7-2014_banana_cranberry_cake_260

This recipe I dedicate to Hannah. Yes :) Three years ago, she gave me a banana cranberry cake as a present for my birthday. Enclosed, there was a poem and the recipe for the cake. It was so good, that it inspired me to start my baking career. I was then baking this cake for about a year. Often. Very often. I was baking it with cranberries, with raisins, with almonds, with hazelnuts, with chocolate, with chestnuts and even with beechnuts.

So you can see I was very fond of this special cake. Then I started to eat no wheat and no sugar anymore and my baking career ended quite abruptly. But then, after one year without this cake I got back to it. Changed a lot of ingredients. Used a special technique (the soak your buckwheat and then blend it technique) and here it is :)

I hope you´ll like it! This cake is vegan.

For this recipe you need to soak the buckwheat for at least 2 hours. I just soak them over night.


Banana Cake

3 Bananas
1 cup buckwheat (soaked for at least 2 hours)
1 cup oats
1 cup grounded nuts (I used hazelnuts)
1/2 cup cranberries
1 teaspoon grounded vanilla (or pulp of one vanilla pod)
1 teaspoon of baking powder
pinch of salt

1/2 cup melted coconut oil
1/3 cup agave sirup
2 tablespoons chia seeds and 1/3 cup of water

1.  Mix the chia seeds into the water and leave them aside. Stir them from time to time.

2. When ready soaked, rinse the buckwheat in a sieve with cold water. Put the buckwheat in a bowl and blend it with a hand-held blender. Blend until it has a dough like consistency. Now you can add the agave sirup, the melted coconut oil (you can melt the coconut oil in a warm water bath), the three mashed bananas and the baking powder. Blend a little more.

3. Add the oats and the nuts. Blend until the dough is smooth. It will still have little pieces of oats in it. Never mind ;) The blender is done now.

4. Preheat the oven to 180°  in the meantime…

5. Now add all the other ingredients (cranberries, vanilla, salt and chia seeds) and stir the dough with a spoon.

Fill the dough into a silicon form, or place some baking paper in your usual baking pan, so that you can lift the cake out of the baking pan. So, now you bake the cake for about 30 min. Then you lift the cake out of the baking pan (if you use a silicon form, you can just put it upside down) and place it directly on the rack. Bake for another 30 minutes.

If you use muffin forms, you`ll only need to bake them for about 30 min. No lifting necessary.


top_7-7-2014_banana_cranberry_cake_266

top_7-7-2014_banana_cranberry_cake_263

And here you can see the muffins. Very nice :)

top_7-7-2014_banana_cranberry_cake_252

If you have any suggestions or questions get back to me :) I answer. I promise.

Summertime Berry Banana Ice Creme Cake

top_21-6-2014_strawberry_icecreme_cake_217

Seeing these photos, I want to eat this cake again and this time alone :) No, no, no. I like to share… I made this cake for my mothers birthday and she was very happy about it.

This cake is only fruits and nuts. And it is so delicious. Now, summertime is time for berries, so let´s eat many of them.

The inspiration and almost all the recipe I got from This Rawsome Vegan Life. One thing I added is the cake base. The preparation of this cake takes about 1 1/2 hours. So this cake takes some time, but as you can guess from the pictures, it is worth all the effort :).

Remember to soak the cashew nuts about 6 hours before you begin to make the cake

top_21-6-2014__210


Base

1 1/2 cup Almonds
1 cup Dates
3 tablespoon Coconut Oil
Pinch of Salt

Melt the coconut oil. You can fill it in a cup and then put the cup in hot water. Put the almonds in your food processor first. Pulse a few times. Add the dates and the coconut oil. Mix in your food processor until it sticks together as a kind of dough.
Press into a spring form pan.

The rest of the recipe you find here. I used fresh fruits instead of frozen ones.


top_21-6-2014_strawberry_icecreme_cake_206

top_21-6-2014_strawberry_icecreme_cake_207

hmmmm…


Banana Chocolate Coconut Creme Cake Suprise

top_9-6-2014_banana-chickpea-cake_165

This cake is a cake surprise, because you may not believe at first what the ingredients are. It´s amazing, because it is only fruits and vegetables. Yes you read it right :) Vegetables. I was so stoked about the idea that I had to try it.

The main actors here are chickpeas, avocados, bananas, coconut and cacao.

I like to sprout the chickpeas about two days before I make the cake. Therefor I soak them for one night (8 hours) and then put them in a sprouting device and rinse them 2 or 3 times a day. When they have a white tail,I cook them for about 10 minutes. There is a big discussion about, if it is advisable to eat sprouted chickpeas raw or not. Chickpeas contain a toxin called lectin, before they are sprouted. Some say this toxin is gone after 2 days of sprouting, others recommend to sprout them way longer (up to 7 days) or cook them for 5-10 min, so the toxin is definitely gone. As I am not sure yet about what fits for me, I will stay on the save side in this recipe. You can also cook the chickpeas for one hour after soaking them. The soaking process is the only thing you can not bypass, unless you use chickpeas from the tin. Which is perfectly possible (my english is not the best, but you understand everything I guess :)).

You will need a blender and/or a food processor for this recipe. Well, if you find other ways, tell me in the comments. I am always interested in innovative mixing possibilities (as this one here: how to create a human powered bike blender)


Base

1 cup chickpeas
1 cup coconut flakes
1 cup dates
1/4 cup coconut oil

Put everything together into your food processor and mix until it is a dough like consistency.

Chocolate Creme

3 small avocados (or two big ones)
1/4 cup agave sirup
1/3 cup cacao powder (use raw cacao powder, if you can afford it)
1/4 cup coconut oil

Blend all ingredients together with your blender, handheld blender or food processor until very smooth. I haven´t tried it yet, but maybe a fork works as well (might take some more time though…)

Layering and Decorating

3 bananas
cacao nibs
coconut flakes

Press half of the dough into the bottom of a spring form pan. Put half of the chocolate creme on top of that. Put this into the freezer and wait for 1 hour. Now press another layer of the other half of the dough on top of the chocolate cream. Cut the bananas and put them on this layer (save some banana slices for the decoration). Put the other half of the chocolate cream on top of that. Garnish with some banana slices, coconut flakes and cacao nibs.

I would put the cake into the freezer for at least another hour, to let is sit. You can also store it there if you want to eat it some days later.


top_9-6-2014_banana-chickpea-pie_169

top_9-6-2014_banana-chickpea-cake_145

This cake has a special story, because it landed upside down on the kitchen floor… It was a big mess. We were scraping all the good chocolate creme from the floor back into the form. But somehow it looked beautiful in the end.

top_9-6-2014_banana-chickpea-cake_153

Be aware, it is a pacman cake :D