Home Made Chocolate and Traveling News

top_4-8-2014_chocolate_338

It´s been a long time, that I did not post anything. I am very sorry. Life just got me spinned up in the famous web of “to-do-lists”. I was very busy, so there was limited time for creativity. But now I am back. The reason I was so busy is good news. I am going to travel from now on (tomorrow) without return date. It´s very exciting for me and it is even harder to believe, that I really made it through all the to-do-lists without going crazy… Because there is a lot that needs to be done when traveling for unlimited time. But now, ready to go!

I will try to discover some delicious recipes on the go. Anyway, you can follow my traveling on melea-und-eddi.tumblr.com. Eddi is the name of a car…in case you were wondering :)

But now, before I leave, here is a very simple, at the same time very tasty recipe how to make your own chocolate. I can totally recommend trying this, because it is easy and you can store the chocolate in the fridge, for a very long time. I have no idea, how long really, but I guess delicious as it is, it wont last so long. And you can surprise your guests with this!

So here we go. You will need a hot water bath.

top_4-8-2014_chocolate_357


Home Made Chocolate

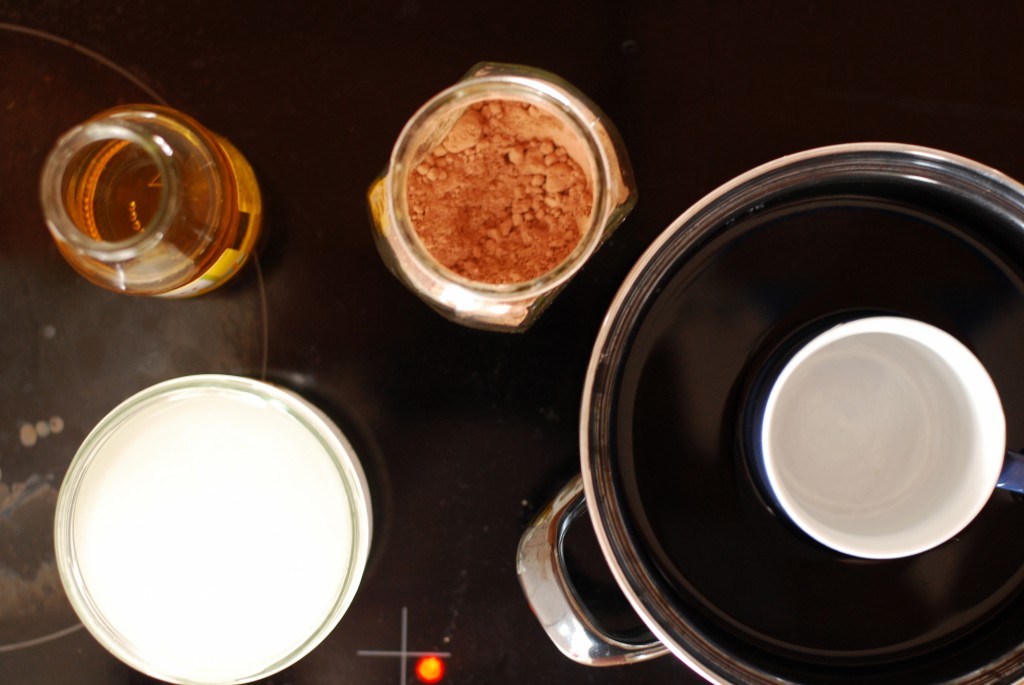
1 part coconut oil
2,5 parts cacao powder
0,5 parts agave sirup

To spice it up

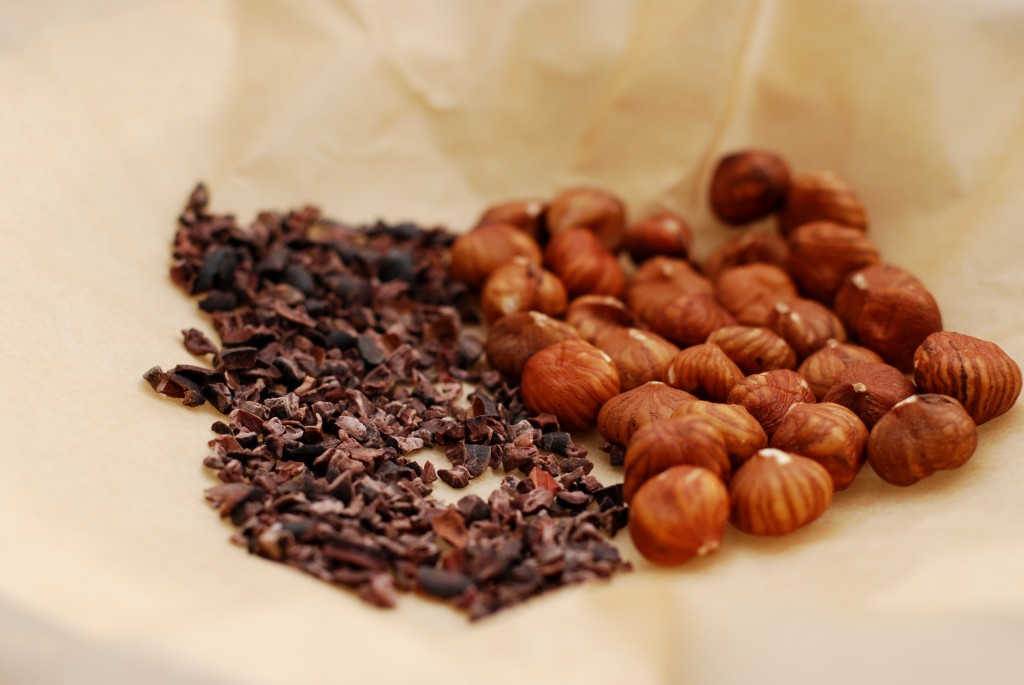
hazelnuts
walnuts
any nuts you like
cacao nibs
chili
vanilla
salt

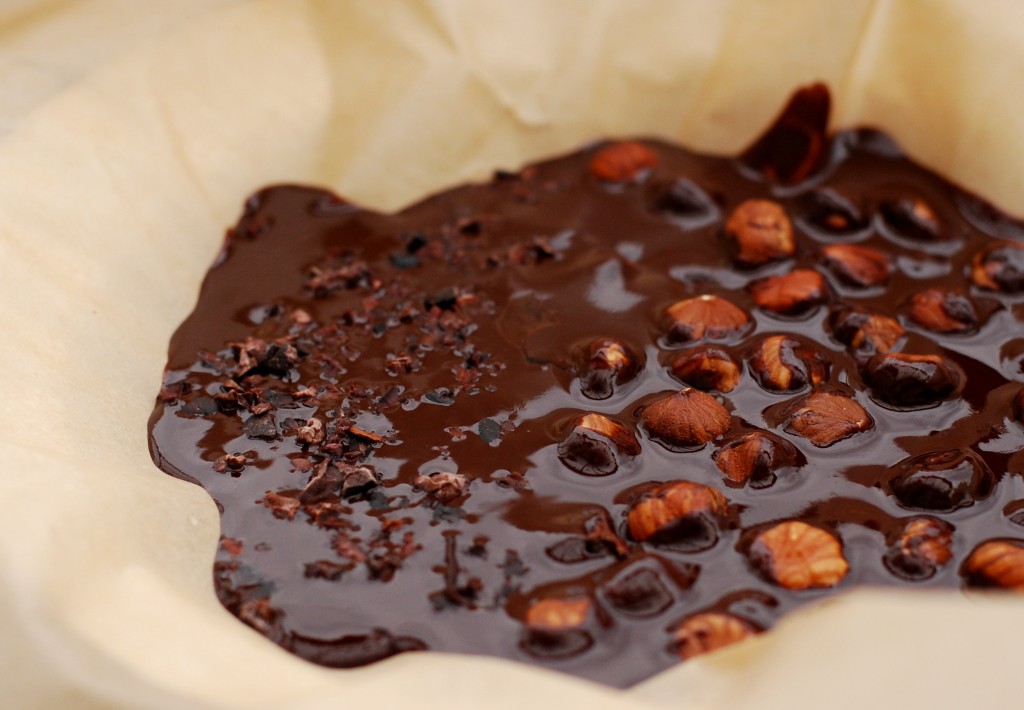
Prepare a form with a sheet of baking paper. Fill in your favorite nuts or seeds or just plain air.

Above, there is just the equation. You choose how much chocolate you want to make. I think I took 1/2 cup of coconut oil and then adjusted the other ingredients.
You melt the coconut oil and then you add the agave sirup and the cacao powder. Stir until everything is well combined and be careful, that the whole thing does not get too hot. Otherwise it changes consistency from liquid to cloddy and you might be very sad (it happened once to me…). If you want to add chili, vanilla or salt, now is the perfect time. Pour the liquid chocolate mass (I am sure you tried it already :)) into the prepared form. Put into fridge or alternative into your freezer if you are too impatient to wait (I put it into the freezer). Wait until it is set. Cut into funny pieces.

E voilà, here it is. Your first homemade chocolate. You did it. It was easy, wasn´t it? And you know exactly what the ingredients are!


 

top_4-8-2014_chocolate_351

top_4-8-2014_chocolate_348

Zucchini Tart And Red Beet Fennel Salad

top_6-8-2014_red_beet_zucchini_tart_370

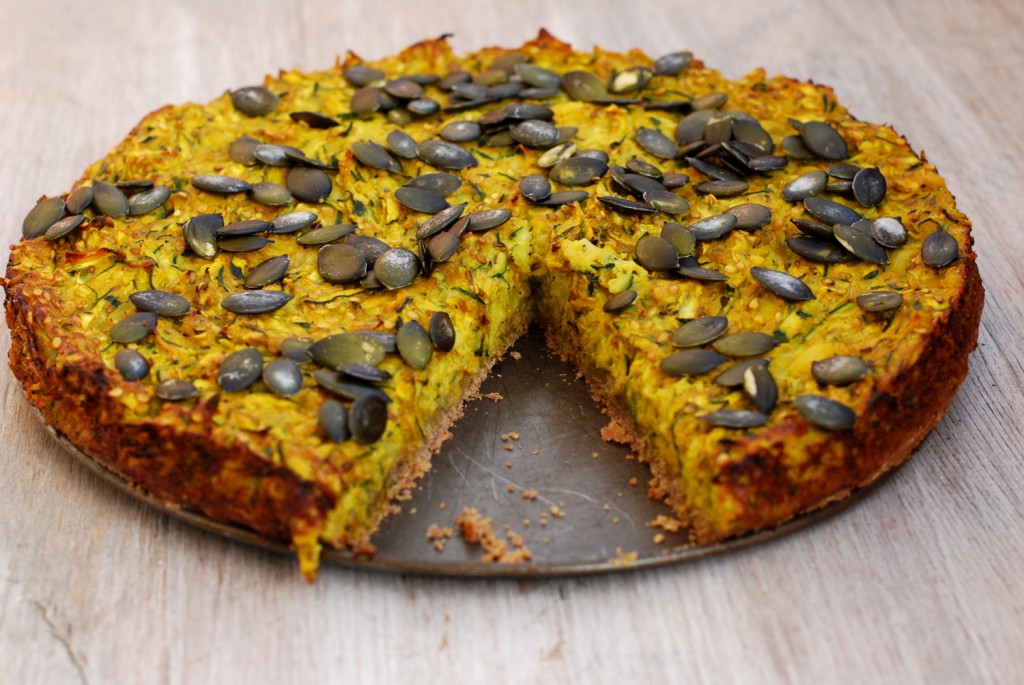
There is an overgrow of zucchini and fennel in our garden. It is very beautiful and it is a lot. I discovered also today that fennel is continuing to grow if you cut it a little above the root (I read it in a gardening book after harvesting the whole plant…). For the base of the tart, I used margarine. When buying margarine I always try to find some with unhydrogenated fat and high in unsaturated fat. There are margarines with flaxseed oil, coconut oil and other good stuff. Next time I will try to make the base of the tart with coconut oil instead of margarine. You can try first and tell me how it went :)

For the topping of the tart I used pumpkin seeds. I soaked them for about 8 hours and then I let them dry in the sun. This is a lot of effort for a little amount of seeds, but it is worth it if you can afford the time. If you are interested in how and why to soak nuts and seeds, look here.

 We ate all of this with 5 people. I guess you can also make it with 4.  


Zucchini Tart

Base:

1,5 cup buckwheat flour
1/2 cup puffed amaranth
100 g margarine
3 tablespoon water
salt

Filling:

400 g silken tofu
2 zucchini
1 carrot
2 small onions
1/3 cup sesame seeds
2 tablespoon olive oil
2 teaspoon turmeric
1 teaspoon salt
1 teaspoon pepper

handful of pumpkin seeds (preferably soaked for 8 hours) for decoration

Prepare the base:

Mix all ingredients together. Use your hands to make the dough. Kneat everything until it is well combined. It´s best to put the dough into the fridge for approximately 20 min. But you can skip this step if you are short in time. Preheat the oven to 170° C. Press the dough into a spring form pan (I used a 26 cm one) and bake for 15 min.

Prepare the filling:

Grate the zucchini and the carrot finely. Chop the onions into small pieces. Heat 1 tablespoon olive oil in a pan and add the onions. Fry them until they are a little brown. Combine all ingredients and mix with a fork until the consistency is smoothly.

Fill the filling on top of the baked base. Now bake everything for another 45 min or until the filling has a light brown crust. When you take the tart out of the oven, let it set for a while. Sprinkle with pumpkin seeds.


Red Beet Fennel Salad

2 fennel
1-2 red beet (depending on your liking and their size)

For the sauce:
3 tablespoon olive oil
1 tablespoon white wine vinegar
1 teaspoon honey
1 teaspoon thinly chopped ginger
1/2 teaspoon salt
rosemary

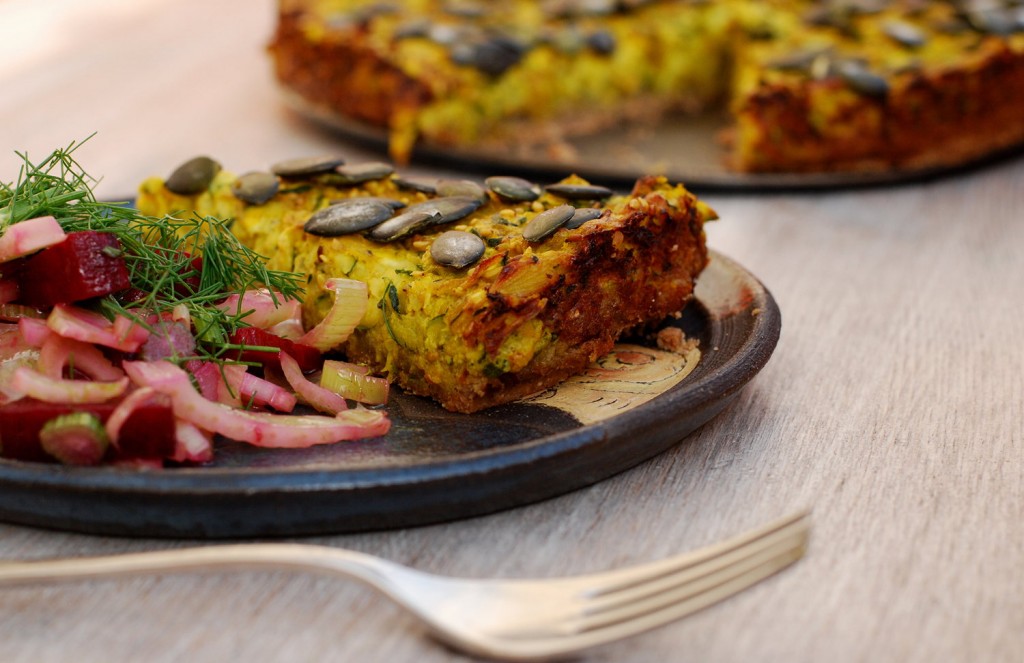
Cut off the green top of the fennel and safe some for later. Chop the fennel and the beet into your favorite pieces. Combine all ingredients for the sauce and stir well. Pour over the fennel and the beet and mix everything. Decorate with some of the green you saved in the beginning

The zucchini tart is at its best when it is neither cold or hot. The salad gets even better, when it has some time to marinate. So don´t hurry :)


top_6-8-2014_red_beet_zucchini_tart_373

top_6-8-2014_red_beet_zucchini_tart_374

Buen apetit! I hope you´ll like it.